Controlling Window AC with HomeAssistant

Do you ever feel like you’re at the mercy of your home appliances, instead of the other way around? I certainly did when the central AC compressor in our rented house decided to call it quits. Replacing it would have cost a small fortune, so my landlord opted to install several separate window AC units instead.
While these units got the job done, they were far from perfect. Not only were they unable to communicate with each other, they also lacked any kind of smart features. But I wasn’t about to let some basic appliances dictate the temperature of my home. With the power of HomeAssistant, I was determined to take back control.
My first step was to determine if the window units would maintain their settings when unplugged. After a few hours, I was relieved to find that they did. Next, I put my trusty smart-plugs to the test, using them to turn the AC units on and off remotely through HomeAssistant.
But simply turning the units on and off wasn’t enough. I wanted to take things to the next level and create a smart thermostat that would allow me to control the temperature across the house, rather than just in the individual rooms. Using a combination of Sonoff and ESP-based temperature sensors, I was able to create a generic thermostat that would keep the house at just the right temperature.
Create the direcories for your configs
mkdir -p config/climate
edit the configuration.yaml file to contain this line and read the configs from the directory that was just created.
climate: !include_dir_merge_list config/climate/
Next create a file in the directory that was just created - mine is climate.yaml and paste the following code.
- platform: generic_thermostat
  name: Master Bedroom Thermostat
  unique_id: '123456789456123456789'
  heater: switch.master_bedroom_ac
  ac_mode: true
  target_sensor: sensor.master_bedroom_temp
  min_temp: 64
  max_temp: 85
  cold_tolerance: 0.3
  hot_tolerance: 0.3
  precision: 1.0
  min_cycle_duration:
    minutes: 3
| Field | Value |
| platform | This is just a thermostat as far as HomeAssistant same as a Nest but one we created |
| name | Any friendly name you like |
| unique_id | A unique value that’s different to your installation - I use a GUID generally so I know they are globally unique, people are really bad at randomness and it’s easy |
| ac_mode | |
| target_sensor | Sensor entity it will be reading for the temperature |
| min_temp | Min temp you will allow the thermostat to be set to - My AC only goes to 64F so that’s what I put |
| max_temp: | Max temp it can be set to |
| cold_tolerance | Wiggle room cold |
| hot_tolerance | Wiggle room hot |
| precision | The nearest number you will set it to - 1.0 will only allow whole numbers |
| min_cycle_duration | Min amount of time it will stay in the state once set |
| minutes | How many minutes - Could be days/hours/minutes/seconds/milliseconds |
Reload your integrations and you should have a thermostat on your dashboard
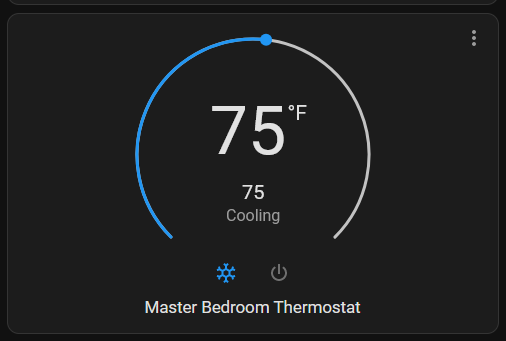
With the help of a bit of code and some creative problem-solving, I was able to turn my basic window units into fully-functioning smart appliances.
Cheers
| Parts List | |
| Sonoff Temperature and Humidity Sensors | https://amzn.to/476WfzS |
| Smart Plug with Energy Monitoring | https://amzn.to/3EfEOQx |